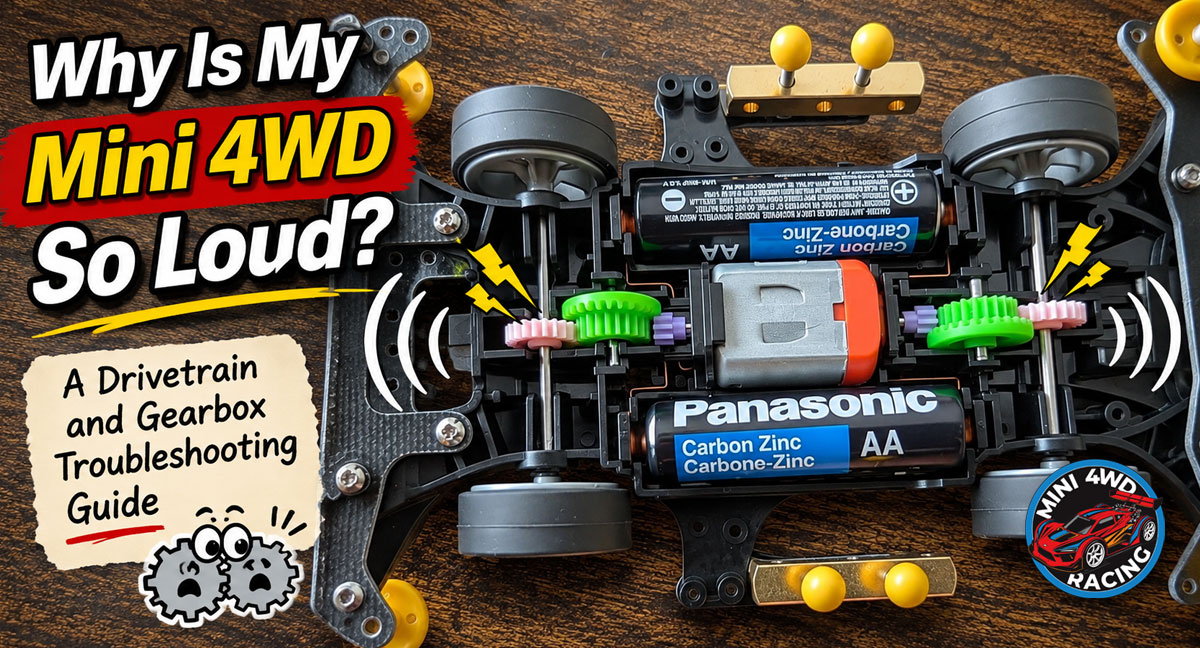
A little noise is normal when running a Tamiya Mini 4WD car. After all, you've got a high-speed electric motor turning a series of plastic gears inside a lightweight chassis. It's not exactly designed to run in silence.
But what happens when your Mini 4WD starts clicking, grinding, whining or vibrating more than usual?
A noisy drivetrain can be a sign of something simple, such as a loose gear cover or an incorrectly seated pinion. It can also point to a more serious problem, including gear binding, worn components or excessive friction that reduces your car's speed.
The good news is that most Mini 4WD drivetrain problems can be diagnosed with a few basic tools, some patience and a systematic approach.
In this guide, I'll explain what different drivetrain noises mean, how to inspect your gearbox and gears and how to identify problems before they affect your car's performance. I'll also cover common trouble spots on popular Tamiya chassis, including the VZ, Super II, AR, FM-A, MA and MS.
 Yes. Some drivetrain noise is completely normal.
Mini 4WD cars use small, high-speed motors and plastic gears that produce sound as they rotate and mesh together. The lightweight plastic chassis can also amplify vibration, making the drivetrain sound louder than you might expect.
The amount of noise depends on several factors, including motor speed, gear ratio, chassis design, gear condition and assembly quality.
A properly assembled Mini 4WD should generally produce a consistent mechanical whine or buzz while running. What you don't want to hear are sudden changes in pitch, repeated clicking, harsh grinding or irregular rattling.
The most important thing to remember is that noise alone doesn't tell you how efficiently your drivetrain is operating. A car can sound relatively loud and still run well. Another car might sound quiet while losing power to friction or binding.
That's why it's important to investigate both the sound and the mechanical condition of your drivetrain.
 Before removing any parts, try to determine where the sound originates.
Place your Mini 4WD on a stable work surface or a suitable stand with the wheels clear of the surface. Make sure the car cannot move or fall while the motor is running.
Turn it on briefly and listen carefully. Does the sound come from the motor area, the front gearbox, the rear gearbox or one of the wheel assemblies?
On single-shaft motor chassis, such as the VZ, Super II, AR and FM-A, the drivetrain uses a propeller shaft to transfer power between the front and rear axles. This creates several possible sources of gear noise.
Double-shaft motor chassis, such as the MA and MS, use a centrally mounted motor with output shafts at both ends. These cars have a different drivetrain layout and do not use the same front-to-rear propeller shaft arrangement.
Pay attention to whether the sound is constant or changes as the motor accelerates.
A regular clicking sound may indicate a damaged gear or a rotating component making contact with something once per revolution. A grinding noise may suggest improper gear engagement, while an irregular rattle could indicate a loose component.
Quick tip: Record a short video of your car running before making adjustments. You can compare the sound afterward to see whether your repairs made a difference.
Word of caution: never put your fingers near moving gears or wheels while the motor is running. I guarantee you'll feel that for a couple hours.
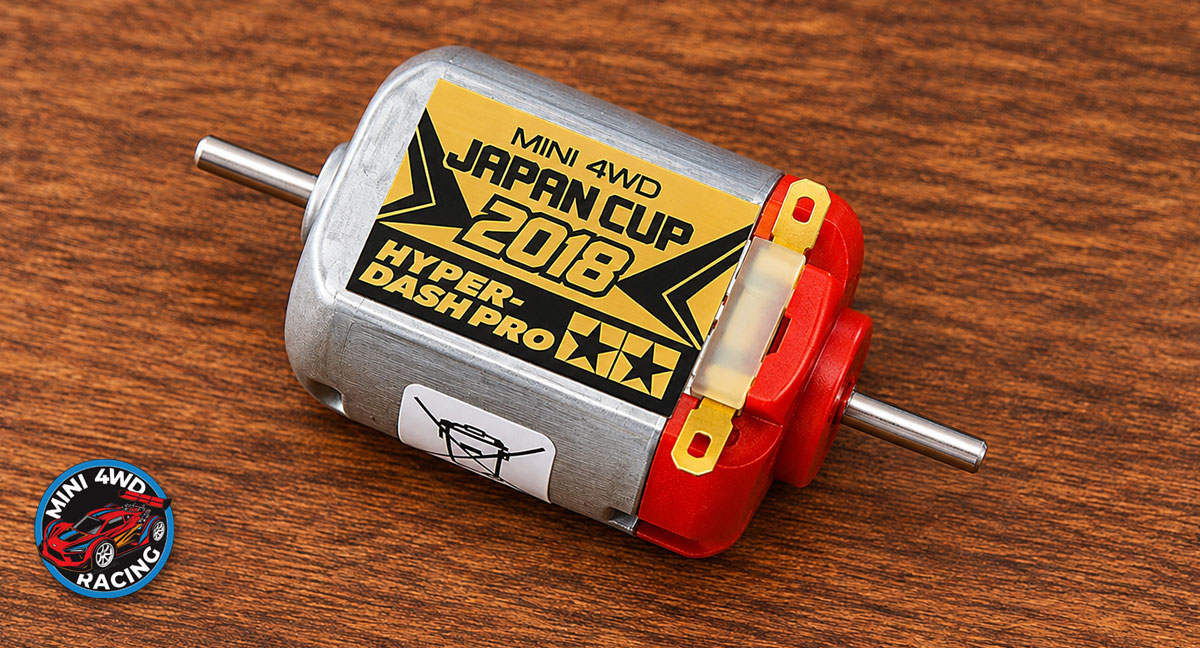 One of the easiest ways to narrow down drivetrain noise is to determine whether the motor itself is responsible.
Remove the motor from the chassis and disconnect it from the drivetrain. On single-shaft chassis, remove the pinion gear if you need to eliminate pinion vibration from the test.
For double-shaft motors, inspect both output shafts and their pinions.
Using a suitable low-voltage power source that matches the motor's operating requirements (usually set to 3v), briefly run the motor by itself.
Listen for unusual sounds.
A healthy motor will generally produce a smooth, consistent buzzing or whirring sound. Some motors naturally sound louder than others, especially higher-performance versions.
However, grinding, irregular clicking, excessive vibration or a rough mechanical sound may indicate a problem inside the motor. You should also check whether the motor shaft appears to wobble as it rotates.
If the motor sounds rough when completely separated from the drivetrain, try installing a different motor to see if the sound continues. If the motor sounds smooth on its own but becomes noisy when installed, the problem is more likely related to gear engagement, motor positioning or another drivetrain component.
Important: Use a proper motor test fixture and secure electrical connections. Do not hold an exposed spinning motor by its shaft, and avoid prolonged unloaded running, especially with high-performance motors.
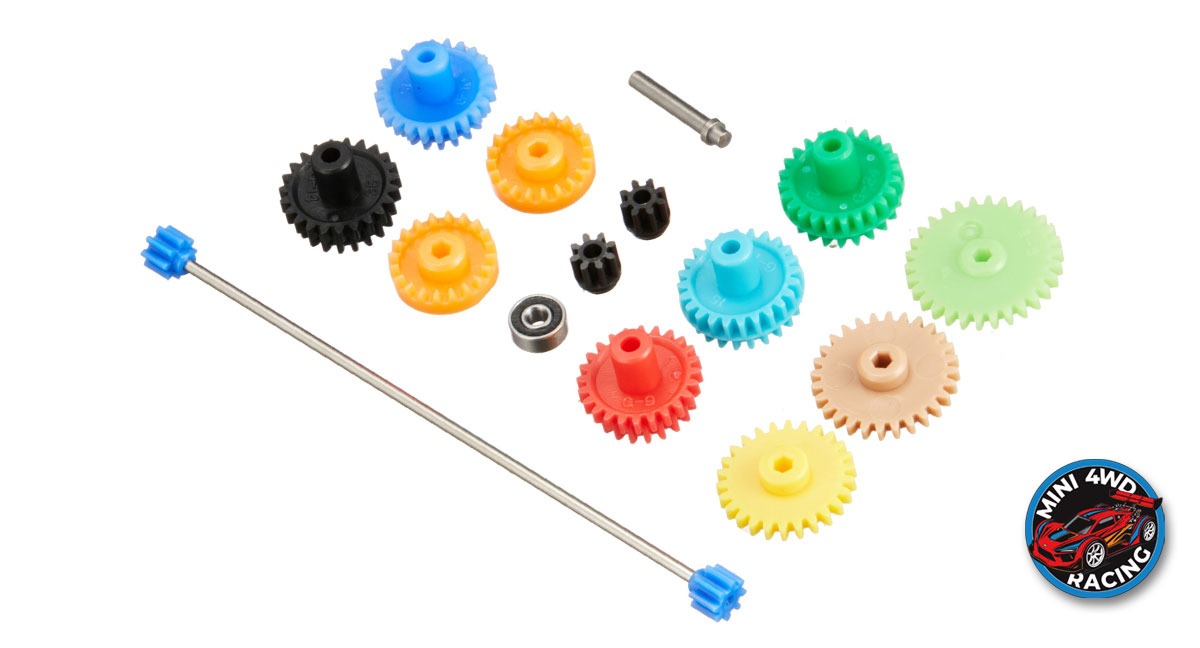
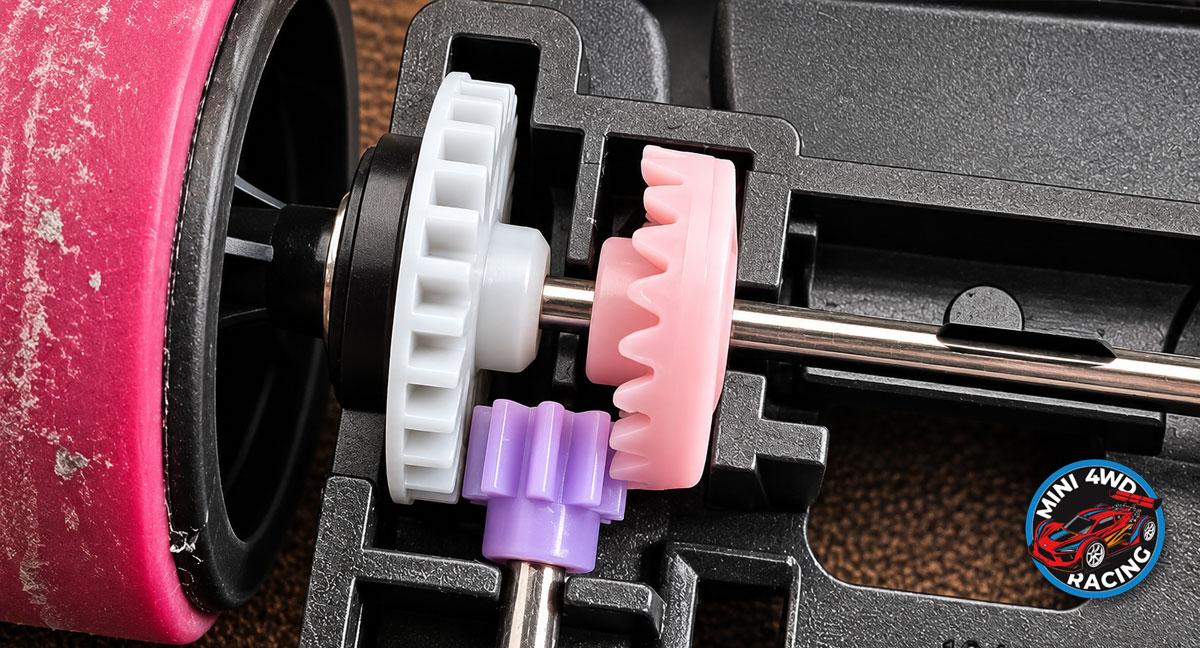
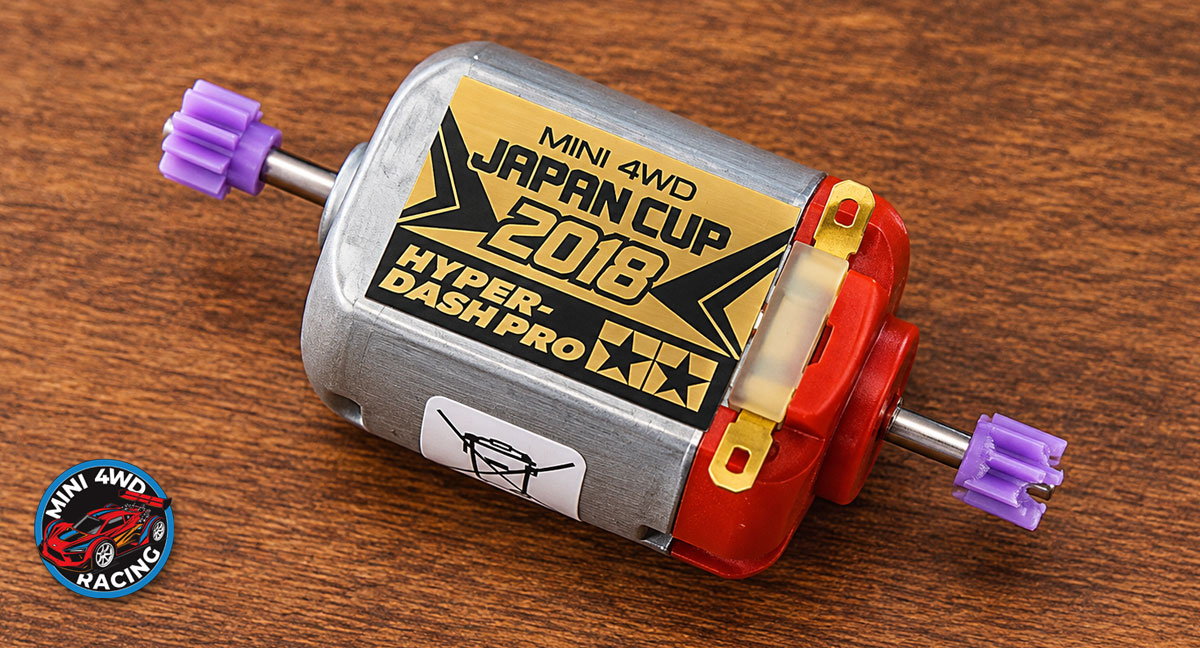 The pinion is the small gear attached to the motor shaft. It transfers motor power into the rest of the drivetrain.
Although it's one of the smallest drivetrain components, an incorrectly installed (or damaged) pinion can create a surprising amount of noise.
Remove the motor and inspect the pinion carefully.
Look for damaged teeth, cracks, excessive wear or signs that the gear has moved along the motor shaft.
The pinion should be installed at the correct position for your chassis and gear arrangement. If it's pushed too far onto the shaft or positioned too far outward, it may not engage the next gear correctly. Poor engagement can cause grinding, clicking, accelerated wear and power loss.
Check that the pinion fits securely. A loose pinion may slip or move during operation, while an excessively tight or damaged pinion can cause installation problems.
Do not assume every pinion should sit in the exact same position on every motor. The correct position depends on the motor, pinion and chassis combination.
For double-shaft motors, inspect both pinions. A problem on either side can affect drivetrain operation.
If the pinion teeth are visibly damaged, replace the gear rather than trying to reshape them.
On single-shaft Mini 4WD chassis, the propeller shaft transfers power from the motor end of the car to the opposite axle. This long metal shaft typically has a small plastic gear at each end.
If either gear moves out of position, the drivetrain may become noisy or lose power.
Remove the propeller shaft and inspect both ends. Check for cracked gear teeth, loose gears, bent sections or signs of rubbing.
The gears should be securely positioned on the shaft and should engage their corresponding crown gears correctly when installed. If one of the propeller-shaft gears has shifted inward or outward, it may not mesh properly. This can produce clicking, grinding or intermittent power delivery.
A quick test is to hold the shaft gear in both hands and LIGHTLY twist. If one end twists, it's loose and possibly making contact with something it shouldn't. Replace the entire shaft.
You can also inspect the channels and supports that hold the propeller shaft in place. Excessive clearance or worn plastic can allow the shaft to move during operation.
A useful test is to reinstall the propeller shaft, rotate the drivetrain slowly by hand and watch how the gears engage.
Look for gears that climb over each other, separate unexpectedly or become tight at certain points.
If the shaft is bent or the gears no longer fit securely, replacement is usually the most reliable solution.
Avoid gluing loose gears into position or permanently modifying the shaft until you've confirmed the correct dimensions and assembly requirements. Such modifications may also affect race legality.
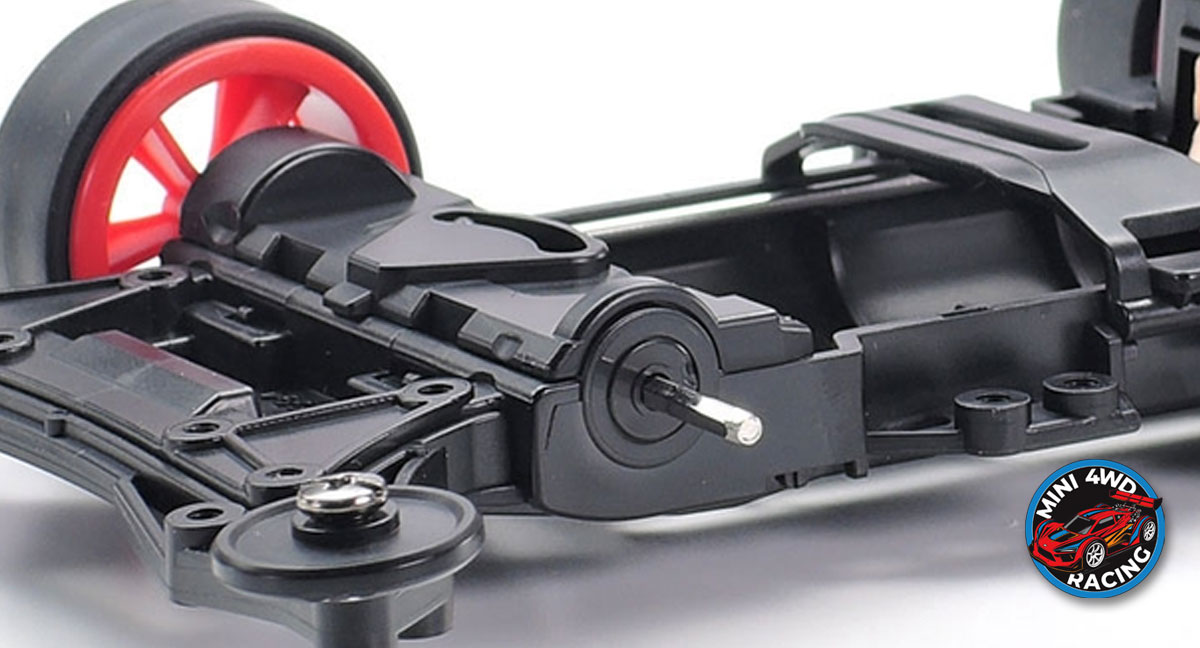 Once you've inspected the gears, it's time to look at the axles.
A bent axle, damaged bushing/bearing or incorrectly installed wheel can create friction (or imbalance) that sounds like a gearbox problem.
Remove the motor and disconnect enough of the drivetrain to isolate each axle. On a single-shaft chassis, this may involve removing the propeller shaft and associated gears.
Rotate each axle by hand. It should turn smoothly without obvious sticking, scraping or rough spots.
If you feel resistance, inspect the axle supports and bearings. Look for dirt, damaged bushings/bearings, bent shafts or wheels rubbing against the chassis.
Check that the wheels are installed straight and have enough clearance to rotate without contacting the chassis (or other attached parts). A wheel pressed too tightly against the chassis can create friction even when the gears are perfectly installed.
You can also remove the wheels and test the axle separately to help identify the source of resistance.
For a more detailed inspection, use a flat surface or a suitable axle-checking tool to look for visible bending.
Remember: A wheel that doesn't spin for very long isn't automatically defective. Different bearings, bushings, lubricants and wheel assemblies have different amounts of resistance. You're looking for unusual friction or a noticeable difference from a comparable assembly.
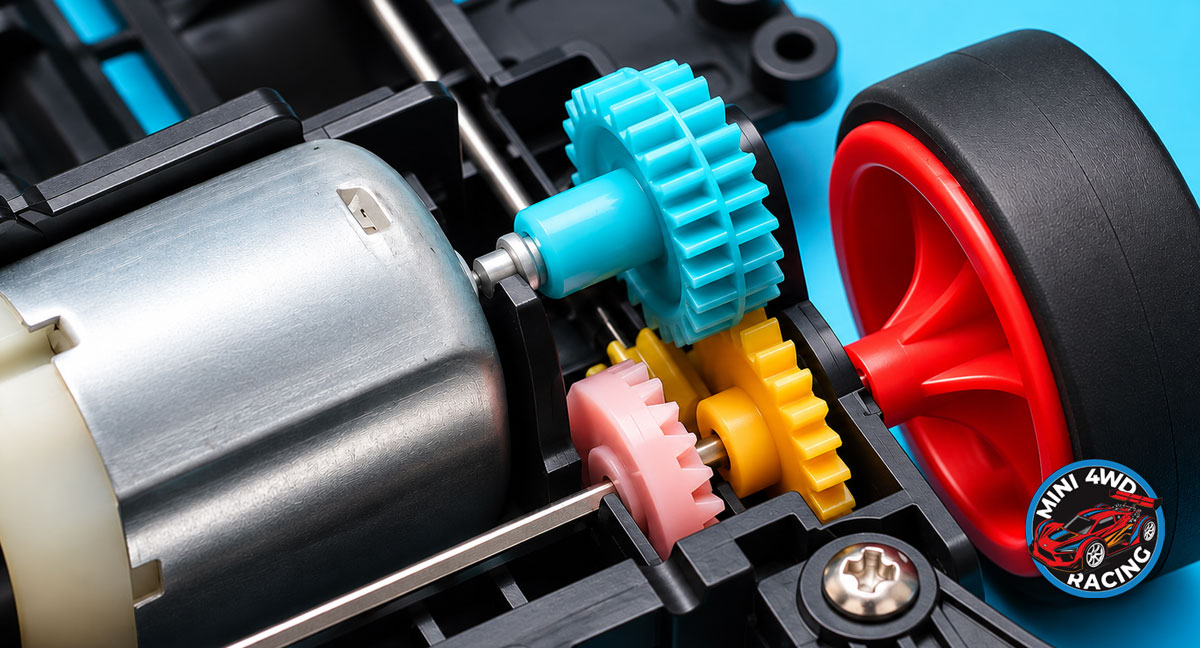 For intermediate racers, a more detailed test can help determine whether drivetrain noise is actually affecting performance.
There are two useful approaches: mechanical spin testing and electrical current measurement.
Mechanical spin testing
With the motor removed or disconnected, rotate the drivetrain by hand. Pay attention to how smoothly the components move. You can also compare the free-spinning behavior of isolated axle assemblies.
For consistent results, use the same wheels, bearings and testing method each time.
A significant reduction in free-spinning time after installing a particular component may indicate additional resistance. However, free-spin testing has limitations. Wheel weight, bearing lubrication and the force used to start the rotation all affect the result.
A complete geared drivetrain may also stop quickly because of gear friction, lubrication or motor resistance. That doesn't necessarily mean it's defective.
Use these tests to compare changes within the same setup rather than judging performance by a universal spin-time target.
Electrical current testing
Electrical current measurement provides another way to investigate drivetrain resistance. A motor generally draws more current when it must overcome greater mechanical load at the same applied voltage. This means a binding drivetrain may cause increased current draw.
For this test, you'll need a suitable regulated power supply and a meter capable of measuring the expected motor current.
Start by measuring the motor's current draw while it runs without the drivetrain connected.
Next, install the motor in the chassis and measure the current again with the assembled drivetrain. Use the same voltage, motor and test conditions for both measurements.
The assembled drivetrain will normally require more current than the unloaded motor because it must turn the gears, axles and wheels. The important measurement is whether current increases unusually after installing or adjusting a specific component.
For example, if current rises sharply after reinstalling the propeller shaft, investigate the shaft and its gear engagement.
If current increases after tightening a cover, check whether the cover is pressing against a rotating part.
Safety note: Use a current-limited supply, secure the car with its wheels clear, and use a meter rated for the motor's possible current draw. Stop immediately if the motor stalls, components heat rapidly or current rises unexpectedly.
Understanding the results
Current draw is useful, but it doesn't provide a complete picture of drivetrain efficiency. A motor's current also depends on speed, voltage, temperature and electrical condition.
Higher current alone doesn't prove that a particular drivetrain part is defective. For the most meaningful comparison, change only one component at a time and repeat the measurement under similar conditions. If you have access to a tachometer, you can also compare motor or wheel speed at the same voltage.
A drivetrain that draws more current while producing less wheel speed is showing stronger evidence of excessive mechanical resistance.
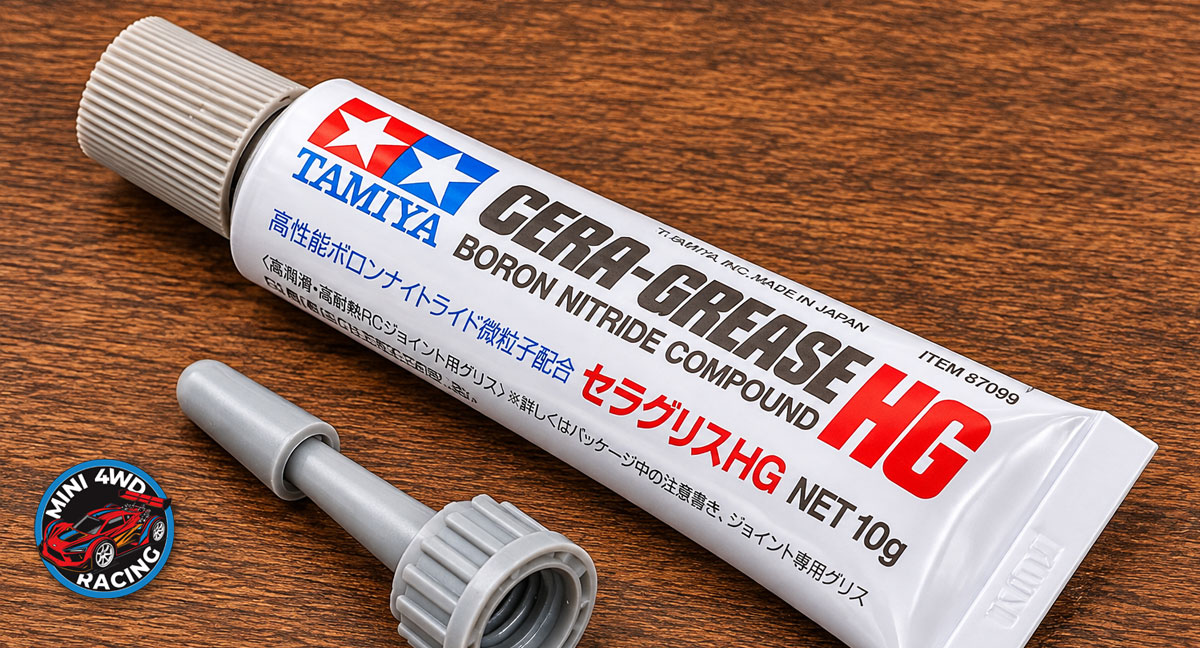 Lubrication can reduce friction and wear, but adding more grease isn't always the answer. Too much grease can increase drag, collect debris and make it harder to identify a mechanical problem.
Before lubricating anything, clean the gears and remove old grease or dirt where appropriate.
Inspect the teeth for damage.
Apply a small amount of plastic-compatible lubricant (I only use the Tamiya Cera-Grease) to the gear contact surfaces and other locations specified for your chassis.
Avoid getting grease on motor contacts, tires, battery terminals or other components that should remain clean.
Bearings also require special consideration. Some bearings are pre-lubricated, while others may benefit from a suitable lightweight oil. Follow the bearing manufacturer's recommendations rather than packing every bearing with grease.
After lubrication, rotate the drivetrain by hand to distribute the lubricant and check for binding. If the car still makes a harsh grinding sound, don't assume more grease will solve it.
A damaged or incorrectly positioned gear needs to be corrected mechanically.
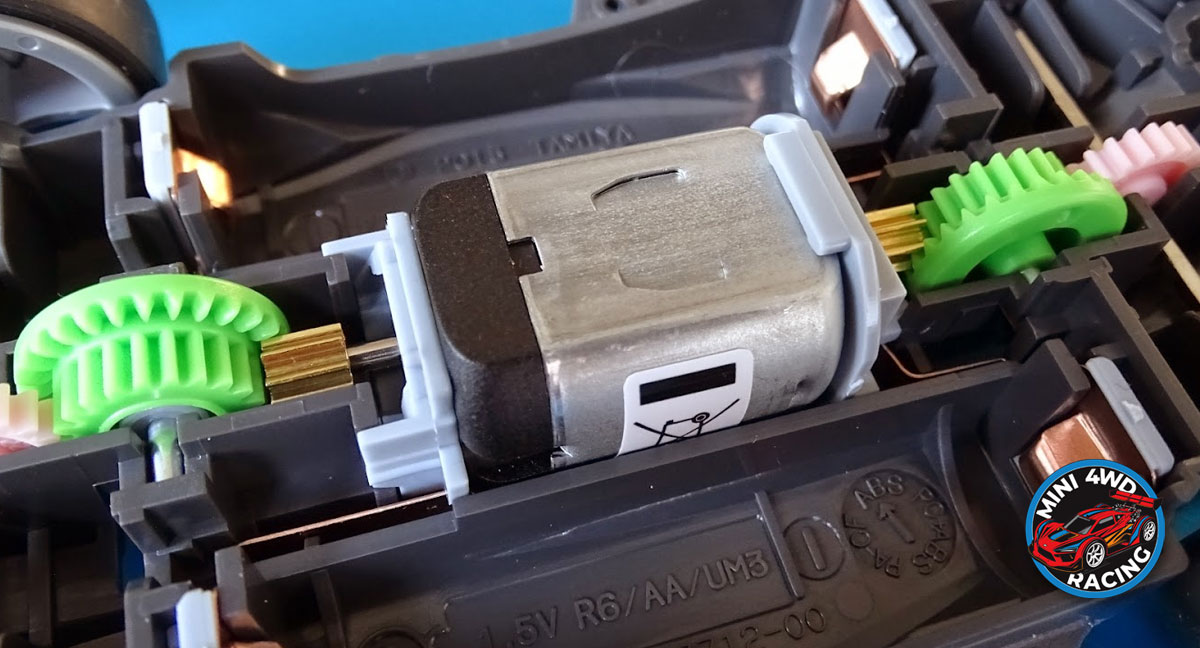 Although the basic troubleshooting process applies to most Mini 4WD cars, different chassis designs have different components and potential trouble spots. The following notes can help narrow your search.
VZ Chassis
The VZ chassis is a lightweight, flexible rear-motor design with a single-shaft motor and propeller-shaft drivetrain. If your VZ produces grinding or clicking sounds, inspect the propeller-shaft gears, crown gears and rear gearbox first. Check that the motor and gear covers are properly secured.
Because the chassis is designed with some flexibility, also inspect whether damage or excessive movement is affecting gear alignment.
A flexible chassis isn't automatically defective. The concern is unwanted movement caused by wear, broken retaining features or improperly installed components.
Super II Chassis
The Super II is another rear-motor, single-shaft chassis. Its drivetrain includes a propeller shaft, crown gears and a motor-driven gear assembly.
If the car develops unusual noise, check the pinion position and propeller-shaft gear engagement. Inspect the motor retainer and gearbox covers for a secure fit. Also check the axle supports for wear, particularly on chassis that have seen extensive racing. A loose gear or damaged retaining tab can allow components to shift under load.
AR Chassis
The AR chassis uses a rear-mounted single-shaft motor and a propeller shaft to drive both axles. Its design allows convenient access to several drivetrain components through the bottom of the chassis, making it relatively easy to inspect and maintain.
If your AR chassis becomes noisy or loses speed, check the propeller shaft, crown gears and gearbox components. Pay attention to the fit of the motor and gear covers. Also inspect the axle bearings and wheel clearance.
If the drivetrain becomes noticeably harder to rotate after a particular cover is installed, investigate whether a component is incorrectly seated.
FM-A Chassis
The FM-A uses a front-mounted single-shaft motor. Although its motor position differs from rear-motor chassis, it still uses a propeller shaft to transmit power between the front and rear axles.
Check the front motor and gearbox assembly for proper seating.
Inspect the pinion, counter gear and propeller-shaft engagement. If the noise seems to originate from the rear of the car, inspect the rear crown gear and propeller-shaft gear.
Because the motor is at the front, don't assume all drivetrain noise must originate there.
MA/ME Chassis
The MA chassis uses a centrally mounted double-shaft motor. Unlike single-shaft designs, it doesn't use a long propeller shaft to transfer power between the front and rear axles. Instead, the motor drives the front and rear gear assemblies through pinions on both ends of the motor shaft.
If your MA chassis makes unusual drivetrain noise, inspect both pinions and their corresponding gear assemblies. Check that the motor is correctly seated and that the gear covers fit securely. You should also inspect both axle assemblies for binding.
Because the front and rear gear systems are driven from opposite ends of the motor, a problem on either side can affect the car's overall performance.
MS Chassis
The MS chassis also uses a double-shaft motor, but its chassis structure differs from the MA.
The MS consists of separate front, center and rear chassis sections. This modular construction makes it important to inspect how the chassis sections fit together.
If the drivetrain becomes noisy, check that the front and rear units are securely attached to the center section. Inspect both motor pinions, gear assemblies and axle supports. Look for cracks, worn connections or unwanted movement between chassis sections.
A damaged or incorrectly assembled chassis connection can affect drivetrain alignment.
For either the MA or MS chassis, remember that troubleshooting the propeller shaft isn't necessary because these designs don't use one.